
Features
All features
Sign up, verify your email and pick the plan that fits — including the free one.
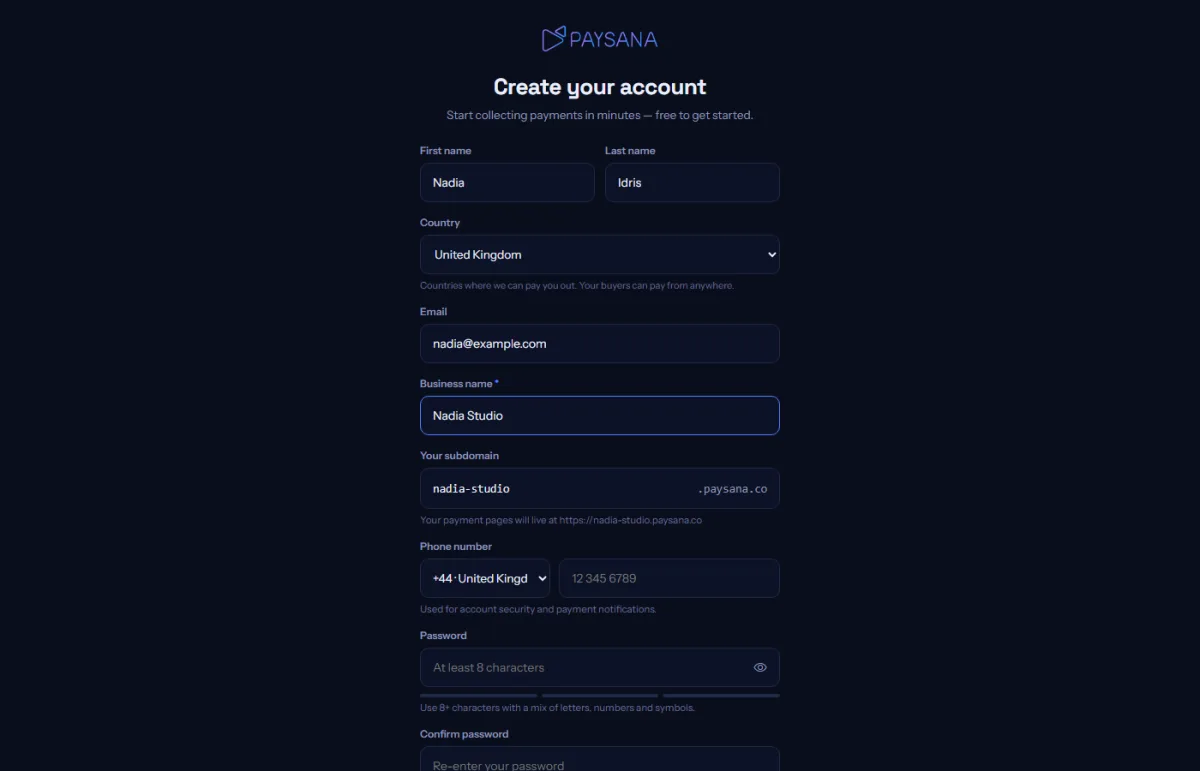
Signing up takes an email address and about a minute. You do not need a card, and you do not need your payment gateway ready yet — you can add that once you have something to sell.
Your name, the country your business operates from, your email and a business name. The subdomain fills itself in from the business name — that is the address your payment links and storefront will live on, so pick something you are happy to share.
We email you a six-digit code and take you straight to the page to type it in — the code is in the subject line too, so you can read it from a notification without opening the message. It lasts 30 minutes. Until you enter it you cannot sign in, which stops somebody signing up with an address they do not own. If it does not arrive, or you mistype it a few times, ask for a new code — issuing one immediately retires the old.
On your first sign-in you pick a plan. Free never expires and lets you sell and get paid with up to three live payment forms; paid plans remove the transaction fee, raise your allowances and unlock more of the platform — marketing and your first team seat from Starter, then the storefront, invoices, affiliates and check-in from Pro, and the API, custom store design and the biggest limits on Business. You can change or cancel at any time from Billing, so this is not a decision you are locked into — and if you cancel or move down a plan you keep what you are on until the period you have already paid for runs out.
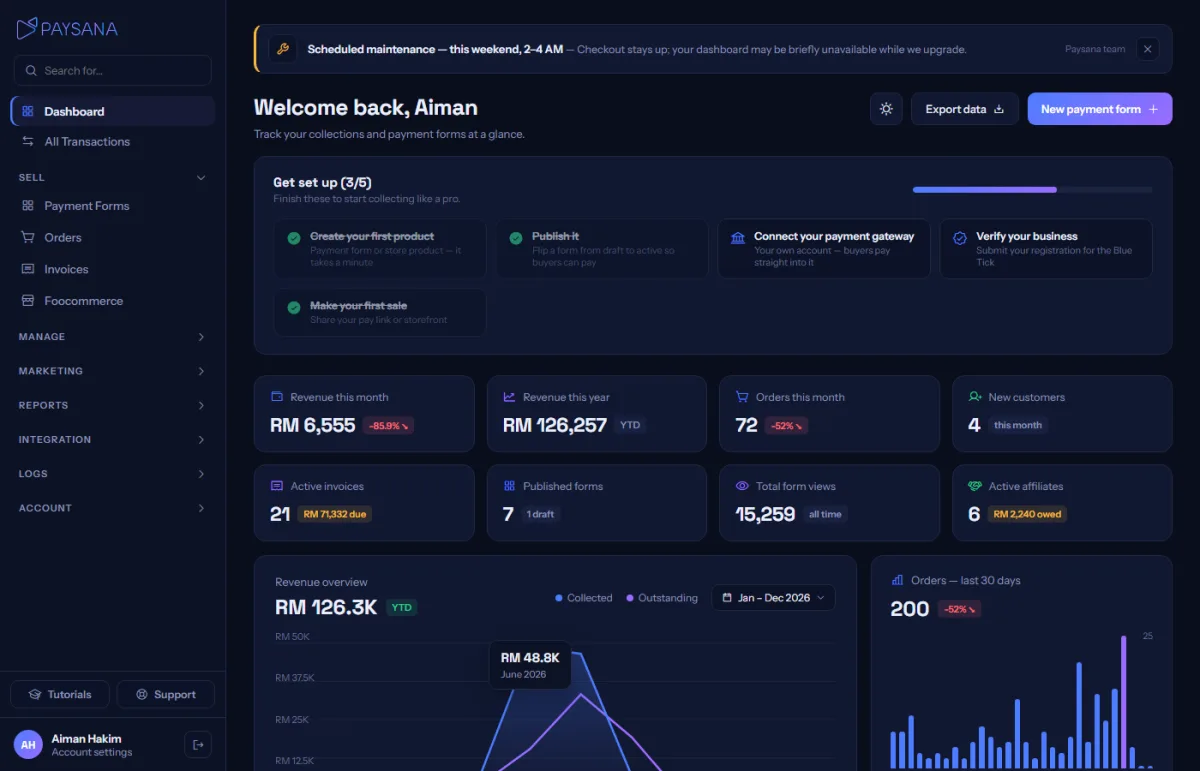
Your dashboard shows a five-step checklist — create a product, publish it, connect your gateway, verify your business and make your first sale. It disappears once you finish, and nothing on it is compulsory.
Join the businesses already using Paysana to collect payments, send invoices and grow.